HOW TO APPLY FOR NEW ZEALAND WORKING HOLIDAY VISA?
How to Get Working Holiday New Zealand Visa Step by Step
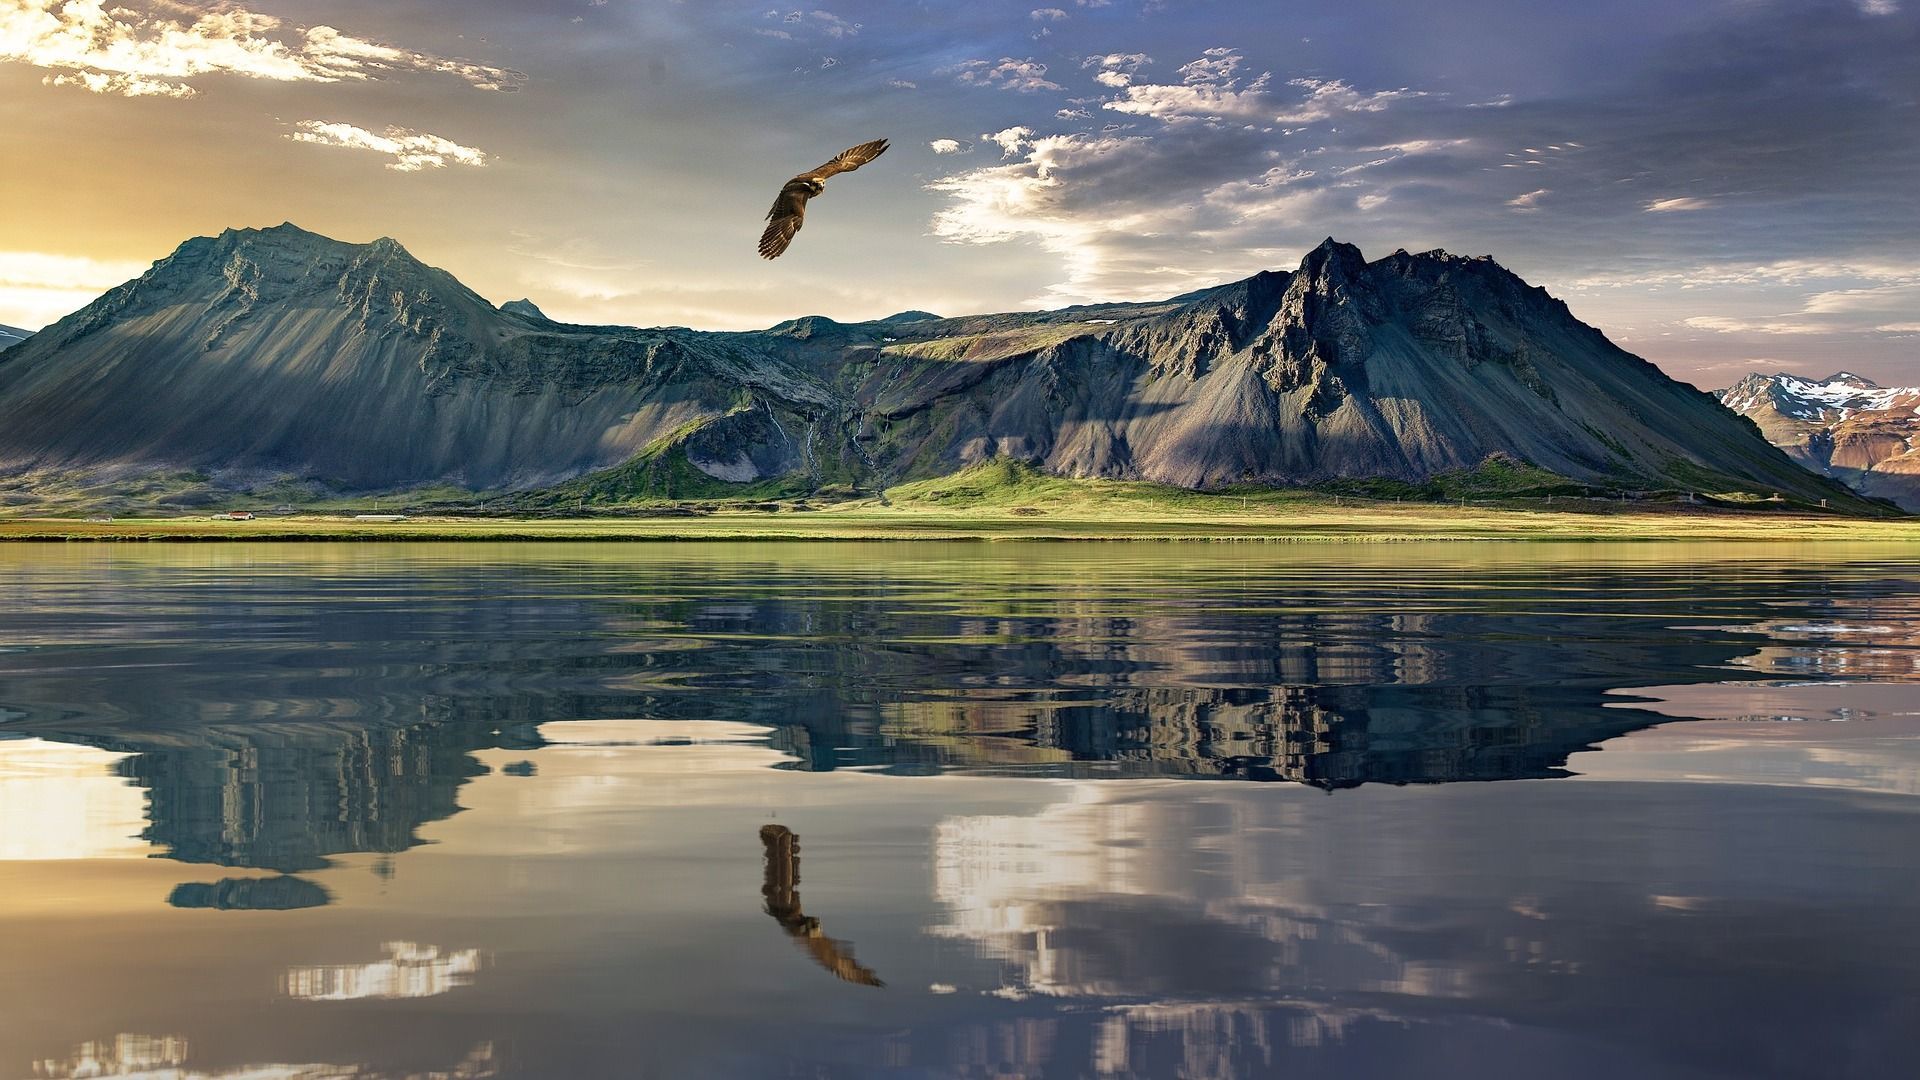
Work and Travel in New Zealand!
Do you wish to visit New Zealand? Do you think you might do some work while you are there? Are you under thirty years old and wish to get a working visa for a year? Do you wish to call this land your next destination? Check out our 10-Step system of getting New Zealand`s Working Holiday visa. This is detailed information that we would be happy to know before coming. And, after getting through so much of trouble – we have made it easier for you! Good luck!
Step 1 – Prepare for Application
Being prepared makes life so much easier! Therefore, check out the terms and conditions of visa for your country now! Go to the homepage (https://www.immigration.govt.nz/new-zealand-visas/apply-for-a-visa) and see when the online application starts for your nationality. For Latvians, it started on 22nd February (2019 data) at 10:00 New Zealand time.
Don`t forget to check quota of how many people will be able to get the visa from your country – this will be real competition as New Zealanders pick those first who apply. Latvians have 100 people quota which means – when the time comes, we have to be among the first 100 people who apply.
NZ visa team do not provide information on documents that will be necessary during the application, but we have gone through them so we can tell you now.
- Prepare your passport as passport data will be necessary.
- They will also ask about your work experience, so CV might come handy.
- And be ready to pay for a visa. On 2019 we paid 200 NZD per person. So do not forget your bank card!
And what else you can do – create your account in NZ visa application homepage. Do it now and save some time later https://onlineservices.immigration.govt.nz/
Step 2 – Apply Online
When the date and time have come, be fast! Open your account and select your country from a list (if visa application has started, it should say – Open).
There will be several pages to fill in:
- Enter your data from the passport.
- Tell NZ visa team about your work experience and let them know in which field you are planning to work now.
- Let the NZ visa team know when you are planning to arrive in NZ.
- There will be a list of illnesses and you have tick those you have if you have any.
- There will be a list of countries that have been marked as “safe” and others that are in the tuberculosis risk zone. If you have visited any of the tuberculosis risk zone countries or if you are coming from one, don`t worry – just be honest. They will ask from you your XRay, but that`s for later. We have gone through it, read below.
- Answer the questions about your criminal history – if you have ever been convicted and why.
- Read through the terms and conditions of visa application and tick them if you agree. If not – you might not get the visa.
- And last but not least – pay those 200 NZD.
And now – waiting.

Step 3 – Next Action from NZ Visa Team
The answer from the NZ visa team comes quickly, you can expect it in three days maximum. They will inform you if you have managed to be one of those lucky 100 (or any other number of participants, depending on your country`s quota).
If you are from the “safe country” or tuberculosis-free country, most likely no other documents will be needed. Now NZ visa team will inform you that they are reviewing all the applications and will let you know if you are fitting for the visa. It takes them up to 30 days.
BUT if you are not from the “safe country” or if you have traveled in any of tuberculosis affected countries during the last six months, you will be asked to provide an XRay. Yes, now the fun part starts.
NZ visa team will give you only 15 calendar days to submit your XRay. Koreans are exclusive – they receive 40 days for this. Who can give you an XRay? Not any doctor is appropriate for doing that. Therefore, check this site: https://www.immigration.govt.nz/new-zealand-visas/apply-for-a-visa/tools-and-information/tools/panel-physicians. Here you can get to know where in your location country the doctor can be found. You don`t need to be in your resident country. We did our Latvian XRay in Australia. The only problem is that there are not that many approved panel physicians to do NZ visa XRay, so follow the list. After that make an appointment with the doctor, preferably by phone as that could go through faster. Yes, 15 days can be challenging, but the NZ visa team has thought of alternatives.
If you are not able to submit the XRay this fast, you have to get at least a confirmation of the appointment with the hospital. Even if you cannot provide your XRay results within those 15 calendar days, NZ visa team will accept your appointment number and a copy of payment as confirmation that you are on the way of making all the needed papers.
Step 4 – Go to Appointment (if applicable)
Basically, arrive at the right place and time to make your XRay. The hospital will not ask much, just your passport and bank card. It is also good if you can get a local address as we were asked for one and we gave our friend`s address. The hospital might ask this along with the appointment booking as well. Local phone number might be needed as well. Your photo will be taken and you`ll have to sign some papers. At then you will need a bank card to pay for your visit. And that is definitely not the cheapest one. Then a separate room and you are there taking the photo of your chest. Most of the cases you will be told to relax- the doctor is taking care of everything else. The doctor will send your XRay results to New Zealand, so you do not have to do anything anymore. You can ask a doctor for your results as well. It takes around 2-5 working days for the final results, so keep tracking the time! If it is over 15 calendar days that were given to you, let the NZ visa team know that you have done the XRay, providing them your application number and photo of the payment. Tell them that the results are on the way. It is super-important to keep watching those deadlines!

Step 5 – Wait for the Results
Yes, again this is the hard part. Usually, the NZ visa team says that they are reviewing the applications for around 30 days. Well, to be honest, we were really pushy. We kept e-mailing NZ visa team and asking if they have received our XRay and do we need to provide any more documents. At first we received messages with a favour not to disturb them with issues that are not urgent, but afterward NZ visa team just asked for our hospital appointment number and that`s it – few more days and we received an e-mail that our visa has been approved. A link to visa will be sent to your e-mail, whenever NZ visa team approves it.
Well, we were impatient and therefore we kept messaging NZ visa team. For us, it seemed that there is a missing link of information. We never got any message of approval that our XRay results had been received and we thought that this is not fair. But anyways NZ visa team will definitely let you know if a visa for you is granted or not. So check your e-mail! The answer actually shouldn`t take longer than two weeks!
Step 6 – Prepare for your Flight
In your visa, you will find information about the date you can arrive in the country. Usually, you can enter New Zealand starting from your visa confirmation date for another year.
And then you are here! Prepare the most important documents for the border! Even if we were asked only for the passports and printout of visa, we had several more documents with us:
- Printout of the bank account. New Zealand migration officers have legal rights to ask you to present at least 4200 NZD in your bank account. You should carry a printout of three last months of your bank transactions. There might be a situation that the officer asks you to open your bank account right there on the spot. Well, that is super-rare, but can happen.
- Hostel booking. What you can do is book a free-cancellation hostel, print out the confirmation that comes to your e-mail and then cancel the hostel. Border control didn`t ask us for the hostel booking, but it might be needed. Can they check if the booking is real or not? Probably. But very rarely someone really does something like this. And then it is up to you how you play your role in this theatre.
- A return ticket. Well, almost nobody has it and most likely it will not be asked as you have a working holiday visa. But as we have been in so many strange situations while traveling, we had this as well. It doesn`t necessarily mean that you have to buy a real ticket. That`s also a magic trick.
- Most people feel safer when traveling with insurance. Also, when applying for a visa they will tell you that you actually need one. The cheapest is Orbit travel insurance here. But to be honest – we have never had traveling insurance or any other kind of insurance. We would have lost loads of money if we would have bought all those. And emergencies here are covered by the government, no payment is needed. But well, it all depends on the person. We are so sure of our health! Basically, we just do not let our body to have even thought of getting sick and so we have traveled around the world!
These are the main papers we always carry with us on the border. Here we were only asked for our visa and for our passport. Yes, we were questioned about the places we have been visiting for the last couple of months. And, after hearing we have been in more than ten countries before without work, we were asked if we have sufficient funds to be here and what kind of job have we done before. When we answered that we have been working in England, no other documents as proof of our funds were asked.
Step 7 – Know the Laws
If you come to the most touristy places, be aware that there will many travelers willing to pay less and enjoy more. We arrived in Queenstown and had heard that it is not allowed to camp outside designated areas. But without the job, we just couldn`t afford to pay for the hostel every day. Yeah, the prices here are crazy! We could travel for a month in India using trains and hotel rooms for the same amount of money we spend in New Zealand in 5 days. But, well, in the beginning, we basically stayed in our tent. Wild-camping, it is called. 200 NZD fee, they say. Nobody ever came to our tent and didn`t put on any fee. But that has happened to so many! Again, it depends on how good you play your role: “I just arrived, it was dark, I walked around the park and didn`t see any camping restriction signs, I was too far from hostels…” Police officers are people as well, so be nice, be humble and play a nice role to avoid the possible fee.
Step 8 – Settle In
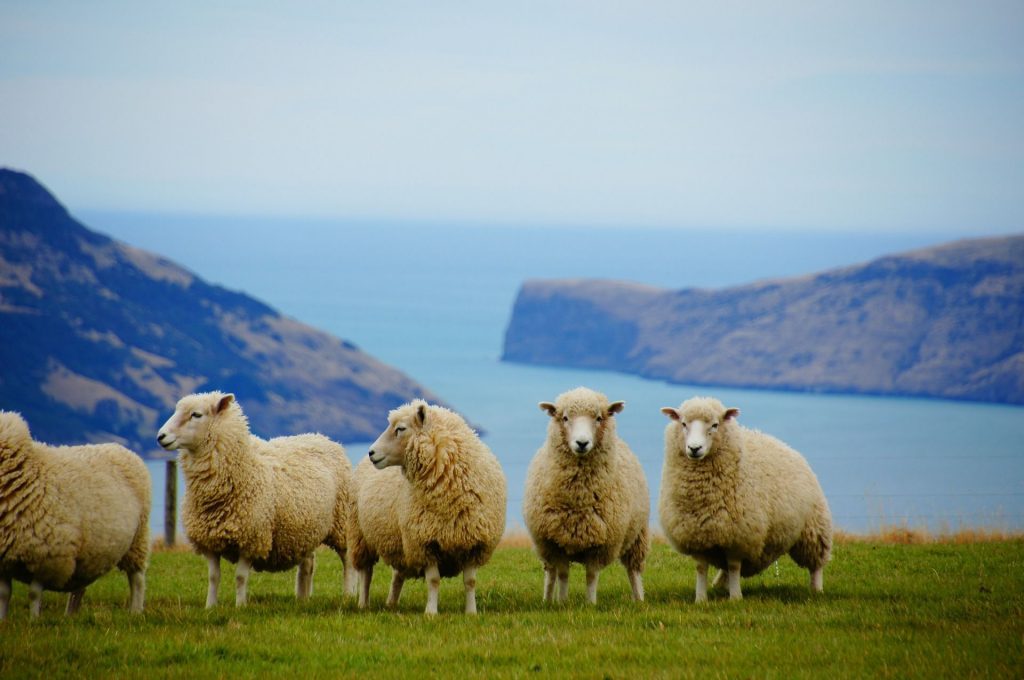
It is not difficult to get a job in New Zealand. If you are good at English, it is even easier. If not –the farm work could be the best. At first, you just need your working holiday visa. With that one, you will be able to get a job. Don`t worry about the bank account now! Everyone in this country knows that documentation takes a lot of time, therefore nothing is asked at the first moment! So just print out your CV and go from place to place offering for helping hands. Other option – job agencies. There at the beginning, they will ask you only for your phone number, just to contact you. We didn`t have a hotel (address we are staying in), we didn`t have a bank account or anything else. In our first day here we just went to the phone centre, got a SIM card and applied for the job in an agency. How does that all work?
Firstly – how to get the phone number? There are several options. We were told that “Skinny” is the cheapest one, it should be found in the biggest stores. If you buy it, do not throw out the receipt as it might be needed when you activate your card. We got our phone number in the phone center Spark. We bought 1.5 GB, unlimited texts and some minutes for 19 NZD. This is the least possible payment. There is also Vodaphone and other companies. But just for the start we took the cheapest reasonable option and used phone center so that there would be a guy who could help us to activate the card. It is not always that easy as it seems.
Secondly – settling in with the agency. There are loads of paperwork to fill in at the agency. That takes around 30 minutes. Basically, they ask the data from your passport, your previous job experiences, your current address (this you can leave empty if you do not have one), bank account information (leave that empty if you do not have one) and IRD taxpayers number that you leave empty as you probably won`t have it that fast. Then you sign some pages as confirmation that you have no criminal records, that you will not obey the rules of this company. And then most likely you will have to watch 15-minutes-long work safety movie and answer some questions. The test is not difficult, all the answers are actually in the movie and they are not hidden. But basic English really should be necessary for this one. And that`s it. Now, wait for the text message (several people can use one phone number). In the text message, you will receive information about the available position, working hours, salary and additional info (e.g Kitchenhand needed tomorrow and Sunday 8am-4pm $18ph at the Hilton Hotel. Please reply if available). If you think you can get that one, reply with your name. Remember that you are not the only one working for the agency. If you will be chosen for the available position, the agency will call you and provide all the other details like transportation, lunchtime, work outfit, etc. But if you have replied with your name and the agency is not getting back to you, that means they consider another person more appropriate for this position.
By the way, remember that one of the working holiday visa conditions is that you cannot work in one workplace longer than three months. Well, all the employers and employees we have met said that nobody is actually checking this and one has to be very unlucky to actually experience this check-up, but anyway it is good to know the rules.
Step 9 – Prepare the Documentation
While you are working for the agency, settling in your new workplace or just looking for a job, you can also start preparing all the necessary documents that will be needed after all.
First is New Zealand`s bank account. The conditions for getting one are different in every bank. Some banks said they actually are not accepting foreigners. Some are ok with everyone. Some will be rude, some super-friendly. Well, in all the banks you will be asked for:
- Passport
- Your tax payer`s number from your country of birth or the country you have been working in. Latvian tax payer`s number is the same as the personal code in the passport.
- NZ working holiday visa. The bank is usually ok with your visa printed out, it should be three pages long. Some banks will be strict and ask you to open your NZ profile on the computer and show them that you actually have the access to your visa in the official NZ web site, not only visa in your e-mail. In this case, you have to make an account in the same web page you submitted your application at the beginning https://www.immigration.govt.nz. Then just write down your password to be able to log into your account if needed. But generally, take your visa printout – most likely only this will be needed.
And then comes the big difference. The proof of address is needed. Most of the banks in New Zealand will ask for the agreement with your landlord or electricity bill, internet bill or any other official bill sent to your address in New Zealand. Yeah, that seems crazy! How can you get something like this if you have just arrived? How long would it take to open the bank account then? Do not panic – there are some alternatives!
There are other banks with easier conditions. One of them is called BNZ. They are accepting also your foreign address. So if you can provide any proof of your home country`s address, it`s just brilliant. You can present bills or even a printout of your bank account if it shows your address. BUT all the documents have to be in English or they have to be officially translated to English. So if you are not coming from an English speaking country, the best would be the last option.
ANZ bank. Here they are totally ok with a letter from your hostel. Basically, at the day of your bank appointment just stay in a hostel and ask them to write you a confirmation letter of your stay. We stayed in a hostel beforehand and the staff there just wrote us a letter with a date we needed. Mind the details that have to be mentioned in the letter! There should be a hotel`s name, the date, your name and surname, a signature of a staff member and a sentence that says: “To whom it might concern – this person is staying in our hostel. Feel free to contact us any time”. Though remember that first, you have to visit the bank and actually make an appointment!
Choose the bank, make an appointment and bring all these papers along. The only thing – you might need to wait long till the next possible appointment. The best thing is to check not only the town you have arrived but also surrounding villages – where the banks could be less busy. E.g. We went to the ANZ bank in Queenstown, they said the earliest appointment can be made three weeks from now, and we took it. But then we went to Frankton, a town 10km from Queenstown, and there the ANZ bank could offer us an appointment the next week. So we took it. We went back to Queenstown`s bank and canceled our appointment there. Staff was so happy that we actually canceled our appointment (as many just tend to disappear after getting earlier appointments elsewhere), we were giving another person a chance.
And the last to get is IRD tax payer`s number. Well, it is said that first you need a bank account to get the IRD, but you always can try some alternatives.
It is possible to get IRD online in this homepage https://www.ird.govt.nz/. Make a profile there and then basically enter all the data from your passport. And what to do when it comes to your bank account? In the homepage, you will be asked to provide details of your bank account. But – there is an option to tick “I do not wish to share the details of my bank account”. So that means you basically confirm you have the bank account, but you are not willing to reveal any detailed information. Well, that worked for us. We just skipped the part of filling in the bank account details as we didn`t have a bank account then, and submitted the application. Four days later we received our IRD number in the e-mail.
Another option to get the IRD is to go to the post office. Yeah, there you will actually need to provide the information about your bank account. You will receive a special form to fill in the details about you, your bank account and your address. We do not know how long this could take, but the good part is that you can ask any bothering questions to the employee there. But, hey, why not to try to do that online?
Step 10 – Know Your Destination
Where to stay?
- Hostels can be one option. We walked around all of them and asked for the weekly deals. Some of them give discounts, some not. Some hostels are giving this chance of cleaning the hostel in return for discounts and even a salary. Make sure there is an internet, kitchen and as many other extras as possible to have less additional costs.
- There are camping sites to stay in, but we were shocked when we discovered that they can be more expensive than hostels.
- Some people choose to live in a car. Yeah, you need to buy a car first and the best place to look for it would be Facebook Marketplace. There are so many travelers here that have turned their cars into amazing vehicles with a bed inside. Though be careful – the car should have WOF and REGO – the permits for driving. If the car hasn’t had them, do not take it as there might be a hidden problem and fixing it might cost you huge money. Remember that you are not allowed to sleep in a car anywhere you wish. You need to pay for the special overnight parking! Yeah, at first we thought that car could be a good option for saving some money, but then – it is actually necessary to pay around 15 NZD per person just to stay in a car in a special car park. Self-contained cars have more options of places where to stay and they also get lower prices. But what is a self-contained car? It has a toilet inside. And that is being checked by a mechanic that gives a special sticker after the proper check. No, you cannot just take the sticker off of a random car as that goes along with the car registration number. Also, you can use your driver`s license in New Zealand for a year, but after you will need a local driver`s license.
You do not want to stay either in the hostel, tent or car? That’s quite understandable if you wish to live in a separate place – in a room of your own. Then you need to find one. How? The biggest towns in New Zealand have their own weekly newspapers and local Facebook groups. We found our place in Facebook group Queenstown Trading. But you can look for the rooms on Facebook Marketplace as well. Pay attention to the information if the room is meant for a single person, for a couple or it is a shared room. The prices are usually calculated per week! In the best case the internet, electricity, and water are already included in the price. We are paying 300 NZD for a double room in a house where only one more person is staying. The price includes internet and all the bills. And we live in Queenstown – the most expensive town in all the country. So do not take the first place you see – the more you dig the more diamonds you might find!
Where to shop? It is cheaper to live outside the biggest cities or at least outside the very center of the city. Yeah, you can also work on the field and live in the tent. This way you will save a lot more. But if you wish to enjoy Kiwi parties as you are in NZ after all, live in the middle of the action and everything will happen! One way you can at least try to save some money is shopping wisely. The cheapest grocery store here in Queenstown (and in some other cities across NZ) is Pack`n`Save. Then comes Countdown. And the New World is more expensive than two previous ones. If you stay in a touristy place, be aware that most central shops will be the most expensive ones.
We highly recommend – if you are here, keep the balance! Do not commit only to the work, New Zealand is a spectacular country – explore the nature and gain some local experiences by meeting the locals! But then – do not forget that New Zealand is expensive! Do not go for 10-dollar vodka shots if you can have some at home and then go to the party. It is super-easy to spend the money you just earned. Follow your expenses and remember that the most beautiful things in life are for free!

Enjoy New Zealand!
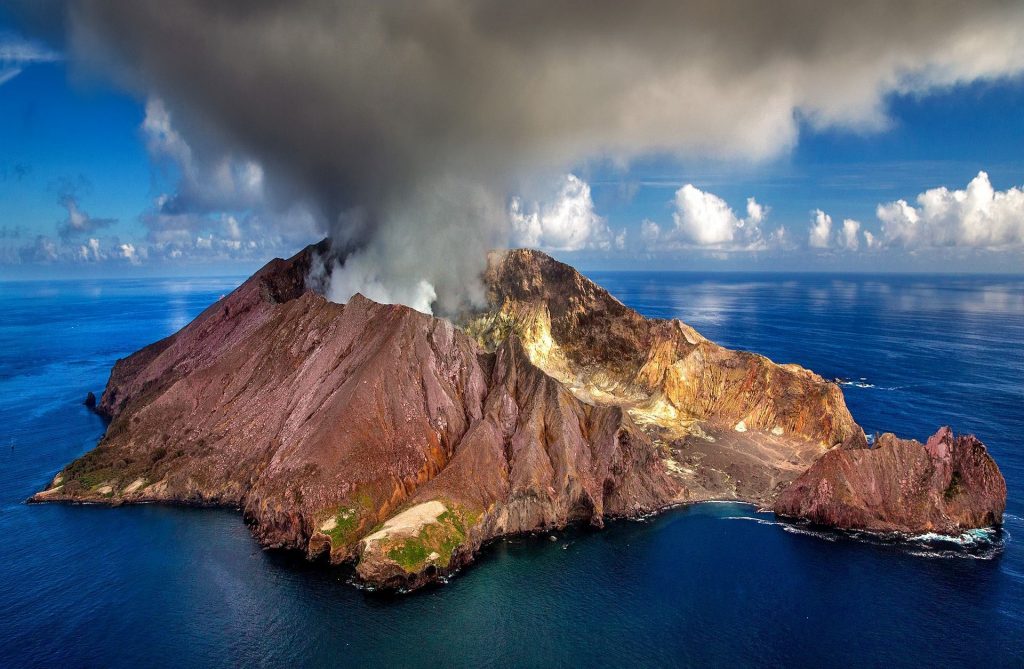
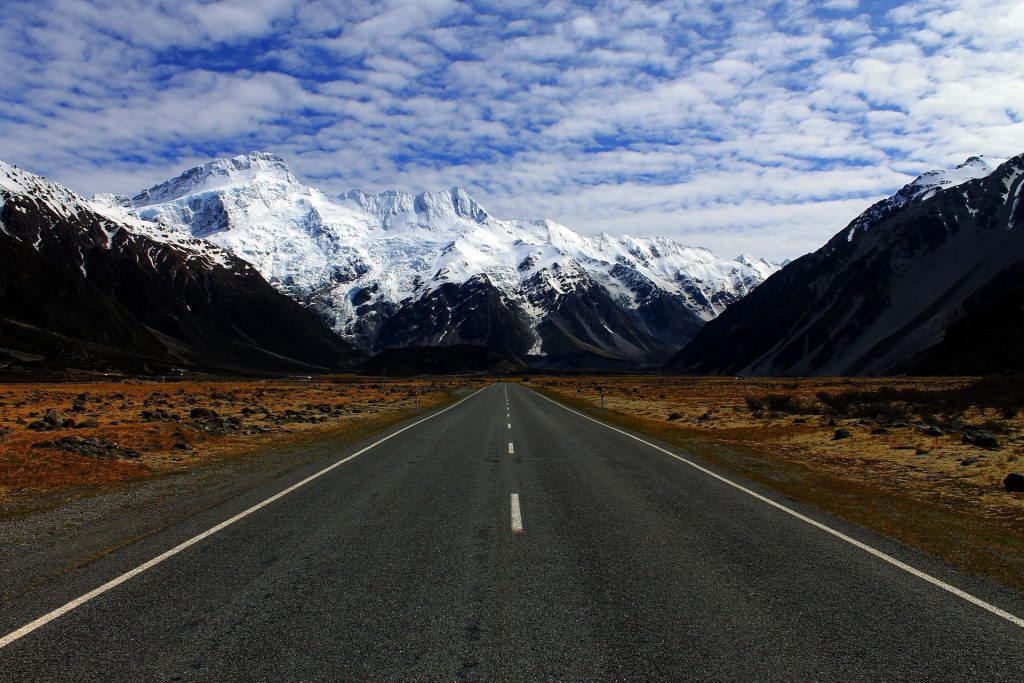
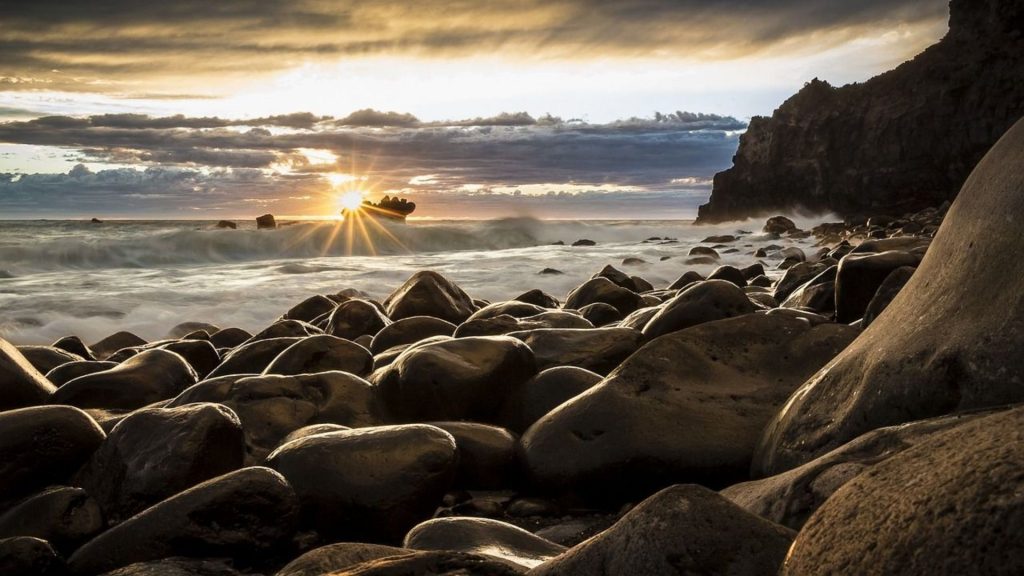
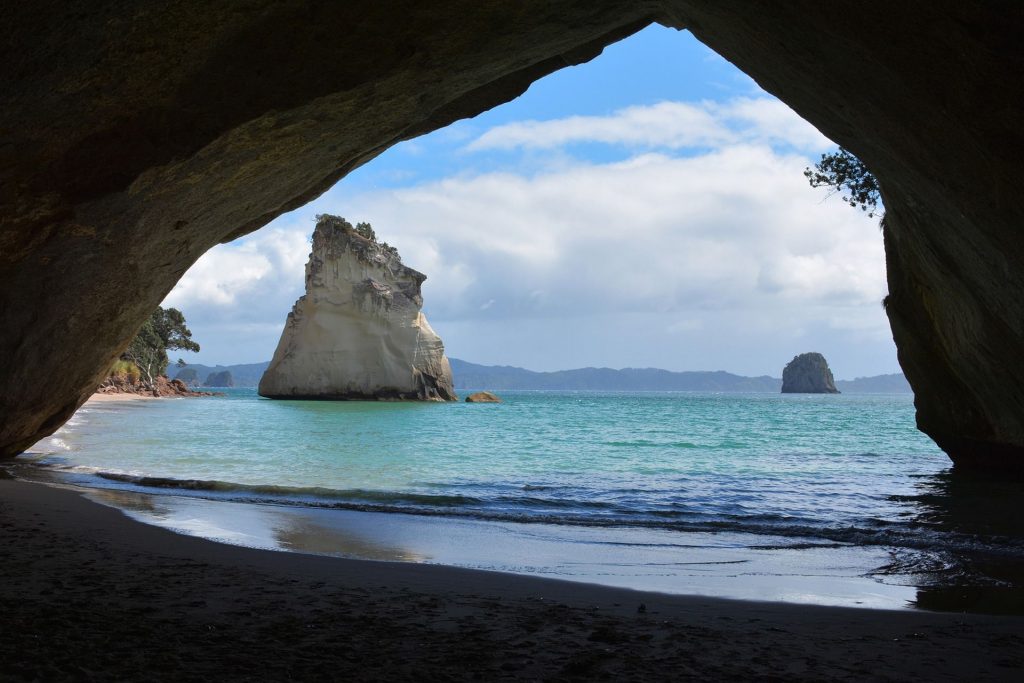
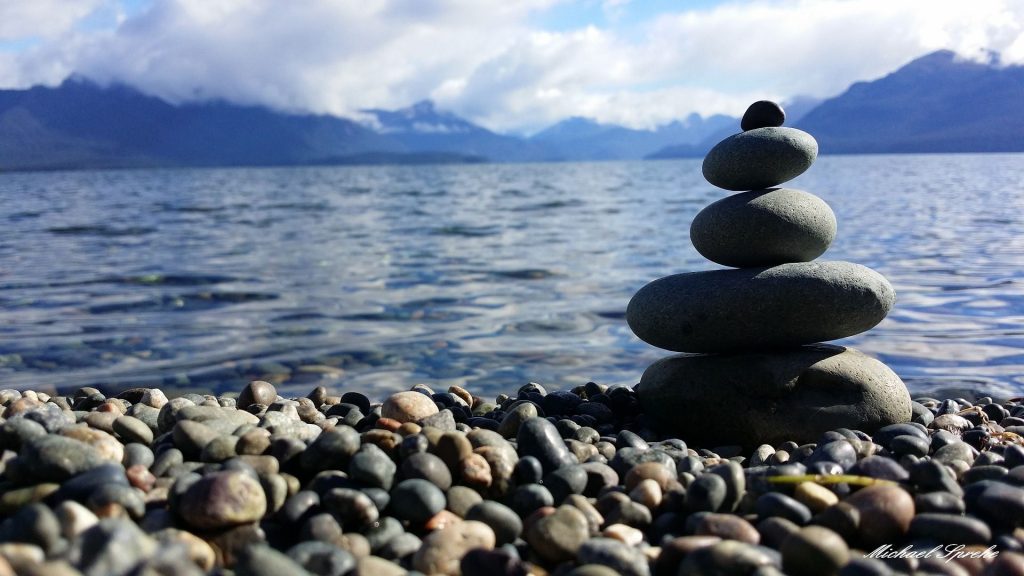
Dear, enjoy New Zealand! This is a land of tremendous mountains, super-blue lakes, spectacular beaches, breathtaking waterfalls, a labyrinth of hiking trails, friendly locals and amazing wine! If you have those opportunities to work and travel in New Zealand, take both of them! Travel when you can and while you can as this is not the closest and definitely not the cheapest destination you may choose in the near future again. And work – this is a chance to get a higher hourly rate than most of the countries in the world. Enjoy New Zealand! Enjoy it while you are here!
*Feel free to contact us if you have any other question about this!